
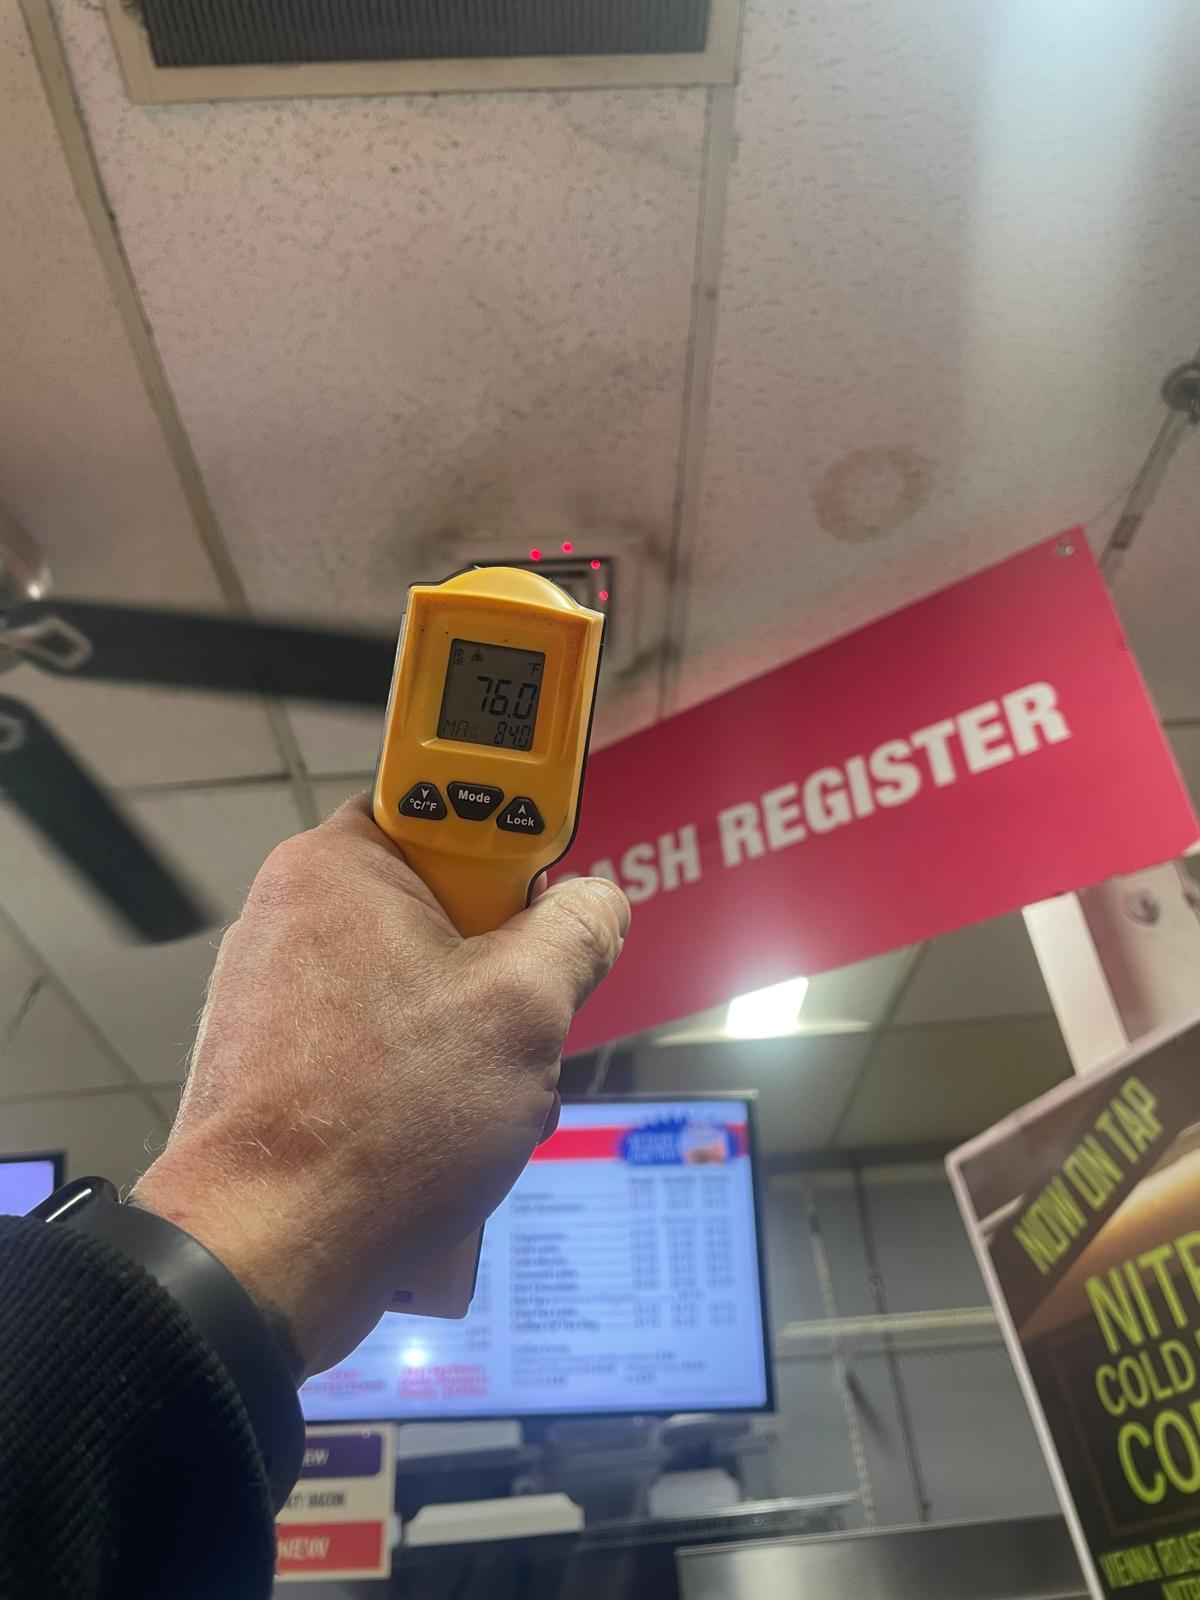
You notice the freezer’s pulling down hard, but the box temp won’t drop below twenty degrees. The suction line is warm, the compressor sounds like it’s trying to start a lawnmower, and the discharge pressure is sitting way too low. If you’ve worked on enough walk-in freezers in the Chevy Chase area—especially the high-volume units behind restaurants or catering kitchens—you already know the scroll compressor is probably cooked. Internal mechanical failure, broken valve plate, or just plain locked rotor from years of liquid slugging.
We’ve replaced enough of these to have strong opinions about what works and what doesn’t. This isn’t a textbook walkthrough. This is what actually happens when you’re on-site, the box is full of product, and the clock is ticking.
Key Takeaways
- A scroll compressor replacement in a high-volume walk-in freezer requires more than just swapping the part—you must verify the electrical supply, refrigerant charge, and system cleanliness.
- Common mistakes include skipping the nitrogen purge during brazing and failing to check the contactor and start components.
- In the Chevy Chase and Silver Spring area, local climate and older building electrical systems often complicate the job.
- Professional help from a company like Pavel Refrigerant Services in Silver Spring, MD can save you from repeat failures and costly product loss.
Table of Contents
Why Scroll Compressors Fail in Walk-In Freezers
Scroll compressors are generally reliable. They handle liquid floodback better than reciprocating compressors, and they run quieter. But in a high-volume walk-in freezer—think a busy restaurant kitchen in Chevy Chase where the door opens fifty times a day—they get abused.
The main killers are liquid slugging, poor electrical supply, and contamination. Liquid slugging happens when refrigerant floods back to the compressor during defrost cycles or when the TXV is oversized or malfunctioning. Over time, the scroll tips wear down, the internal check valve fails, and the compressor starts short-cycling or refuses to start altogether.
We’ve also seen plenty of failures caused by voltage drop. Older commercial buildings in Chevy Chase and Silver Spring often have undersized electrical panels or long wire runs that cause low voltage under load. The compressor draws high amperage, the internal overload trips, and eventually the motor winding gives up.
The Contamination Problem
When a scroll compressor fails internally—especially if it locked up or suffered a burn-out—the system becomes contaminated with debris, acid, and moisture. You can’t just pull the old compressor, drop in a new one, and charge it up. That’s how you get a callback in two weeks.
We always cut the old compressor out and inspect the oil. If it smells burnt or looks dark, you’re dealing with a burn-out. That means you need to install a suction line filter drier, flush the lines if possible, and plan for an oil change. Skipping this step is the number one mistake we see from DIYers and even some less experienced techs.
The Tools and Materials You’ll Need
Before we get into the step-by-step, let’s talk about what you actually need. This isn’t a job for a basic tool bag.
- Recovery machine and tank (R-404A or R-448A, depending on the system)
- Vacuum pump capable of pulling below 500 microns
- Nitrogen tank with regulator for pressure testing and brazing purge
- Brazing rods (15% silver or higher for copper-to-copper, flux-coated for dissimilar metals)
- Torch with adequate BTU output—don’t use a tiny brazing torch on a 3/4-inch suction line
- Manifold gauges with low-loss fittings
- Micron gauge (not just a compound gauge)
- Suction line filter drier (replaceable core type preferred)
- New contactor and start capacitor (if the old ones show signs of pitting or swelling)
- Compressor oil (POE oil, typically ISO 32 or 68, check the compressor tag)
We also bring a small mirror and flashlight to inspect the inside of the suction line after cutting. You’d be surprised how much debris can hide in there.
When to Call a Professional
If you don’t own a recovery machine or a micron gauge, stop right here. This isn’t a DIY project for someone without the proper equipment. Also, if the walk-in freezer is packed with thousands of dollars of inventory—like a catering kitchen in Chevy Chase—the cost of a failed DIY attempt far exceeds the service call from a qualified company. Pavel Refrigerant Services in Silver Spring, MD handles these jobs regularly, and we’ve seen the aftermath of botched compressor swaps that ended up costing the customer double in lost product and emergency service fees.
Step-by-Step: Replacing the Scroll Compressor
Step 1: Recover the Refrigerant Properly
This sounds obvious, but we’ve seen people crack the service valves and vent refrigerant into the atmosphere. That’s illegal, and it’s also stupid. Recover into a clean tank. Weigh what you pull out. If the charge is significantly lower than the nameplate, you have a leak somewhere that needs to be addressed before you finish the job.
Step 2: Disconnect and Remove the Old Compressor
Kill all power at the disconnect. Verify with a meter. Then disconnect the electrical connections—tag the wires so you don’t guess later. Remove the compressor mounting bolts. Cut the suction and discharge lines with a tubing cutter, not a hacksaw. Hacksaws leave metal filings that will circulate through the system.
Once the compressor is out, inspect the mounting pad. If it’s rusted or uneven, replace it. A compressor that sits crooked will have vibration issues and premature wear.
Step 3: Nitrogen Purge During Brazing
This is non-negotiable. Flow nitrogen through the system while you braze the new compressor in place. The nitrogen displaces oxygen, preventing copper oxide from forming inside the pipes. Copper oxide flakes will eventually clog the TXV or the filter drier. We set the nitrogen regulator to about 3-5 PSI and keep it flowing until the joint cools below 200°F.
Braid the suction line first, then the discharge line. Use a double-torch technique if the pipe is large. Don’t rush the brazing—a weak joint will leak under vibration.
Step 4: Install the New Filter Drier
Always replace the filter drier when you swap a compressor. We prefer a replaceable core drier installed in the liquid line. If the system had a burn-out, use a suction line filter drier as well, but plan to remove it after a few days of operation—it creates restriction if left in permanently.
Step 5: Pressure Test with Nitrogen
Pressurize the system to about 150 PSI with nitrogen. Let it sit for 15 minutes. If the pressure drops, you have a leak. Use electronic leak detector or soap bubbles to find it. Don’t skip this step—we’ve seen brand new compressors with cracked weld joints or loose fittings.
Step 6: Evacuate Deeply
Pull a vacuum below 500 microns. We aim for 200-300 microns on a clean system. Hold the vacuum for at least 30 minutes. If the pressure rises above 1000 microns during the hold, you still have moisture or a leak. A good vacuum is the difference between a system that runs for years and one that fails in months.
Step 7: Check the Electrical Components
Before you hit the start button, inspect the contactor. If the contacts are pitted or the coil is buzzing, replace it. Check the start capacitor and run capacitor with a capacitance meter. Scroll compressors are hard-starting, and weak capacitors cause them to cycle on overload.
Also verify the voltage at the disconnect. We’ve found 208V systems in Chevy Chase that were actually delivering 195V under load. That’s a recipe for failure. If the voltage is low, the customer needs an electrician before the new compressor suffers the same fate.
Step 8: Charge and Start
Weigh in the charge based on the nameplate. Start the compressor and monitor suction and discharge pressures. Adjust the TXV if needed. Listen for abnormal noise—a clicking scroll or a rattling sound means something is wrong. Let the system run through a defrost cycle to verify the heaters and drain line are working.
Common Mistakes That Will Ruin Your New Compressor
We’ve compiled a short list of errors we see repeatedly. Avoid these at all costs.
- Skipping the nitrogen purge. This causes copper oxide formation, which will destroy the new compressor within weeks.
- Using the old filter drier. It’s saturated with acid and moisture. You’re contaminating the new compressor from the start.
- Not replacing the contactor. A pitted contactor causes single-phasing on three-phase systems, which burns out the motor.
- Overcharging the system. Scroll compressors are sensitive to liquid floodback. An overcharge can cause slugging.
- Ignoring the defrost system. If the defrost termination thermostat is stuck closed, the evaporator will ice up, causing liquid to return to the compressor.
A Real-World Example from Chevy Chase
We replaced a scroll compressor in a walk-in freezer behind a well-known restaurant on Wisconsin Avenue. The original compressor had locked up due to a failed run capacitor. The previous tech had simply swapped the capacitor and walked away. Three weeks later, the compressor was dead again because the contactor was arcing and causing voltage imbalance.
We replaced the compressor, contactor, and capacitors, installed a new filter drier, and pressure-tested with nitrogen. The system has been running for two years without issues. The lesson: don’t treat the symptom, treat the cause.
Cost Considerations and Trade-Offs
Replacing a scroll compressor isn’t cheap. Here’s a realistic breakdown of what you’re looking at in the Chevy Chase and Silver Spring area.
| Item | Estimated Cost | Notes |
|---|---|---|
| Scroll compressor (3-5 HP) | $800 – $1,500 | Prices vary by brand and availability |
| Filter drier, capacitors, contactor | $100 – $250 | Replace all of them |
| Refrigerant (R-404A or R-448A) | $200 – $500 | Depends on system charge and current market price |
| Labor (professional) | $600 – $1,200 | Includes recovery, brazing, evacuation, and testing |
| Lost product (if freezer is down) | $500 – $3,000+ | Depends on inventory and duration of outage |
If you’re doing this yourself, you save labor but risk the other costs if something goes wrong. We’ve seen DIYers spend $1,500 on parts and then call us to fix a leak or a contaminated system. The total cost ends up higher than if they had hired a pro from the start.
When DIY Makes Sense
If you own the equipment, have experience with refrigeration, and the freezer is in a garage or low-value storage, go ahead. But if the freezer is in a busy commercial kitchen in Chevy Chase, where every hour of downtime costs money, call a professional. The team at Pavel Refrigerant Services in Silver Spring, MD can usually complete the job in half a day, including recovery and evacuation.
Alternatives to Compressor Replacement
Sometimes a compressor replacement isn’t the best move. Here are a few situations where you might consider alternatives.
- The evaporator coil is leaking. If the coil is rusted through, replacing the compressor is throwing good money after bad. Replace the evaporator or the entire unit.
- The condenser is undersized. In older Chevy Chase buildings, we’ve seen walk-in freezers with condensers located in hot attics or cramped mechanical rooms. If the head pressure is consistently high, the compressor will fail again. Consider relocating the condenser or adding a fan cycle control.
- The system is obsolete. If the compressor is a discontinued model and the refrigerant is phased out (like R-22), it might be time to replace the entire condensing unit with a modern R-448A system.
Final Thoughts
Replacing a scroll compressor in a high-volume walk-in freezer is a job that demands patience, the right tools, and a willingness to do the dirty work—evacuation, brazing, and thorough testing. It’s not glamorous, but when you hear that compressor hum to life and the box starts pulling down, it’s satisfying.
If you’re in Chevy Chase or Silver Spring and you’re staring at a warm freezer, don’t panic. Assess the situation honestly. If you’re not confident in your ability to recover refrigerant, braze under nitrogen, and pull a proper vacuum, call someone who does this every day. A few hundred dollars in labor now is better than a few thousand in lost product and emergency repairs later.
We’ve seen enough failed compressor swaps to know that the shortcuts always show up eventually. Take the time to do it right, and that new scroll will run for years.
People Also Ask
Replacing a compressor is a complex task requiring professional training. First, recover all refrigerant using an EPA-approved machine to ensure zero emission. Next, disconnect electrical power and remove the access panels. Using a manifold gauge set, verify the system is fully evacuated. Unsweat the suction and discharge lines with a torch, taking care not to damage the service valves. Remove the faulty compressor and install the new one, ensuring proper alignment and mounting. Braze the lines using a nitrogen purge to prevent oxidation. After brazing, pressure test with nitrogen and perform a deep vacuum to below 500 microns. Finally, recharge the system with the correct refrigerant type and amount. For reliable service, Pavel Refrigerant Services can handle this critical repair safely.
Replacing a freezer compressor is a complex task that requires specialized tools and knowledge of refrigerant handling. In most cases, it is not recommended as a DIY project. You must have EPA Section 608 certification to legally purchase and handle refrigerants. Additionally, diagnosing the root cause of a compressor failure is critical; a simple swap often leads to repeat failure if underlying issues like a clogged metering device or contaminated oil are ignored. For professional guidance, you can refer to our internal article When To Call Pros For Walk-In Freezer Repairs which outlines key safety and technical considerations. For residents in Washington D.C., Silver Spring, and the surrounding DMV Metro Area, Pavel Refrigerant Services recommends hiring a licensed technician to ensure the repair is safe, compliant, and reliable.
Running a scroll compressor backwards reverses the intended flow of refrigerant and oil. This immediately prevents proper compression, leading to a lack of cooling or heating. More critically, the internal scrolls are designed to rotate in one direction only. Operating in reverse can cause the scrolls to separate or slam together, resulting in severe mechanical damage, such as broken scroll tips or a seized compressor. This is a common issue after a phase reversal on a three-phase system. If you suspect a scroll compressor is running backwards, it is crucial to shut the system down immediately. At Pavel Refrigerant Services, we always verify correct rotation during installation and after any electrical repairs to prevent this costly failure.
The critical first step in compressor replacement is to ensure the electrical power supply is completely disconnected and locked out. Before any refrigerant recovery or component removal begins, you must verify zero voltage at the unit and tag the disconnect. This safety protocol protects the technician from electrocution and prevents accidental startup. After confirming power is off, the next logical step is to recover the refrigerant from the system in accordance with EPA regulations. Pavel Refrigerant Services emphasizes that skipping the lockout/tagout step to save time is a dangerous shortcut that can lead to severe injury. Always prioritize personal safety before any mechanical or refrigeration work.
